
Cutting gradients, matching prints and finding the top of a piece
Grain counts toward Quality, and the way you lay each piece decides how a print or gradient sits on the finished dress. Turn the piece the right way before you cut.
| You want | Do this |
|---|---|
| A gradient that runs top to bottom | Cross-cut: turn the pieces off the straight grain |
| Know which end of a piece is the top | Read its arrows before you turn it |
| Get a piece back to 100% grain | Scroll wheel or Page Up / Page Down, ten steps |
| A print that carries across a seam | Hide the seam allowance with the eye icon |
| Stop the print squeezing at the waist | Allow for a small mismatch there |
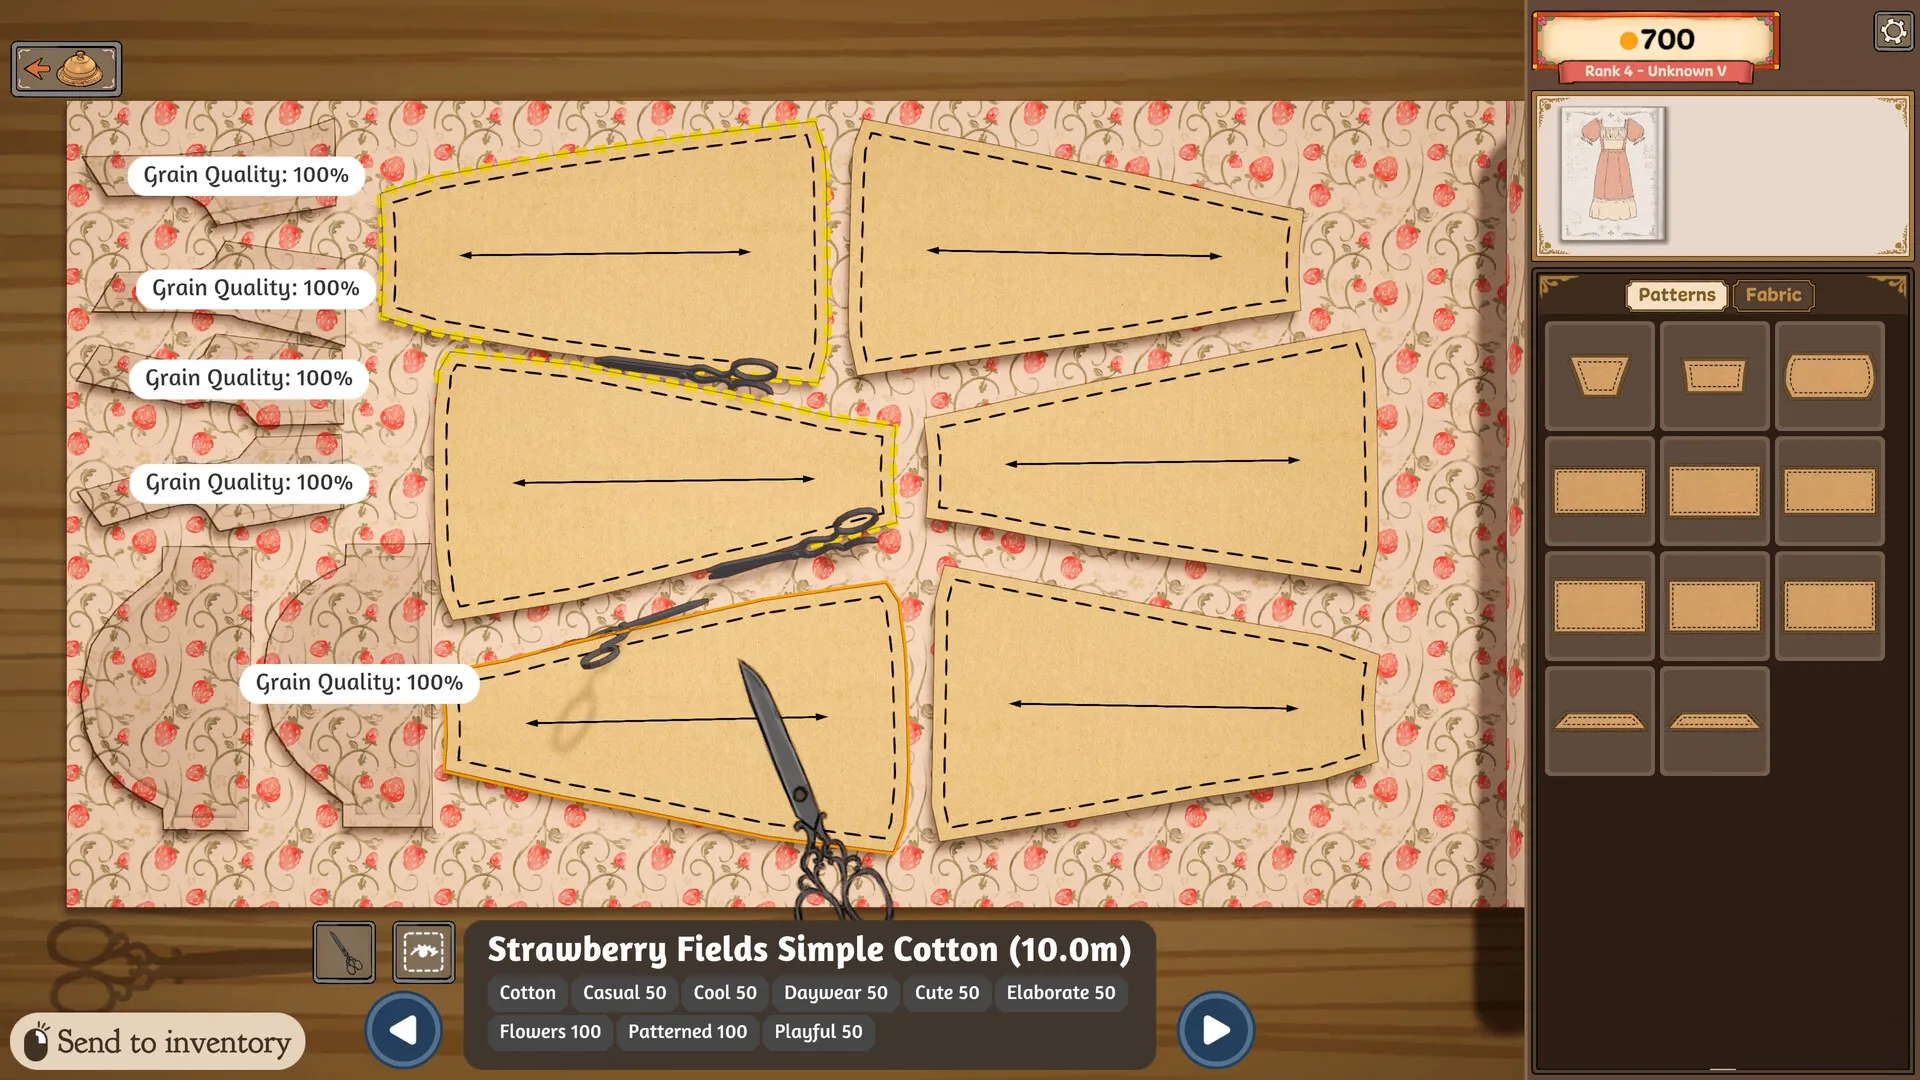
Gradient fabric, top to bottom
For a gradient that runs from the top of the dress to the hem you have to cross-cut: turn the pieces off the straight grain. That costs grain, and cross-cut pieces usually sit around 75% instead of 100%. Grain feeds Quality, so keep it for cards with room to spare, and sew those pieces carefully to make up the difference. How grain and sewing add up is on getting 100% quality.
Which end of a piece is the top
There is no top marker on a pattern piece, which matters for one-way prints such as the vegetable-print cotton. Try this: take the piece out of your inventory and look at it before you turn it. In that starting position, the arrows pointing up and down usually show which way the piece will face on the dress. Note the top, then keep track of it as you turn the piece onto the grain. It may not hold for every shape, so with a one-way print, pin the first piece on the mannequin and check it before you cut the rest.
Turning a piece back to 100% grain
With a piece selected on the fabric, the scroll wheel turns it in steps, and so do Page Up and Page Down. Ten steps bring it to 100% grain. If a piece has slipped to 98%, one step snaps it back. The line on the piece flashes from red to green when it is at or near 100%, and clicking the white rotation circle without moving the mouse shows the exact figure. On a Steam Deck with the default layout, L1 and R1 do the same job. The rest of the keys are on controls.
Lining up a print across a seam
The eye icon next to the scissors hides the seam allowance, so you see only the fabric that will show on the dress. Work piece by piece: cut one, lay out the piece that joins it, then drag the cut piece alongside to see whether the print lines up before you cut the second. Matching a print eats fabric, so buy a little more than the pattern’s estimate.
Print squeezed at the waist
On a fitted top, the fabric texture looks compressed around the waist, so a print that lines up on the table will not quite meet the skirt there. It looks like the 3D model stretching the texture rather than a mistake in your layout, so allow for a small mismatch at the waist instead of recutting to chase it. When you line pieces up for the rest of the dress, remember the seam allowance.
New to the cutting table? The full order of cutting, sewing and finishing is in the beginner’s guide.