
How to play Dressmaker: one dress, start to finish
Every commission runs through the same eight stations: the counter, the measurements, the sketchbook, the fabric shop, the cutting table, the sewing machine, the accessories and the photo.
- Ring the bell and take the commission. Clients arrive at the counter with a request. The next customer only comes when you ring the desk bell. The request goes into the sketchbook as a card.
- Measure the client. Each client is measured, in a simpler way than real dressmaking, and the mannequin is adjusted to fit. The pattern pieces are then drafted to those measurements. Each client’s usual numbers, and a check for a reading that came out wrong, are on client measurements.
- Design the dress in the sketchbook. Pick a bodice, a collar, a sleeve and a skirt, then add fabric swatches to preview the style tags. The left page holds the request card; what each number on it means is on style tags and requirement rules, and you can look any card up on the commission finder. The sketch also estimates how much fabric the design needs.
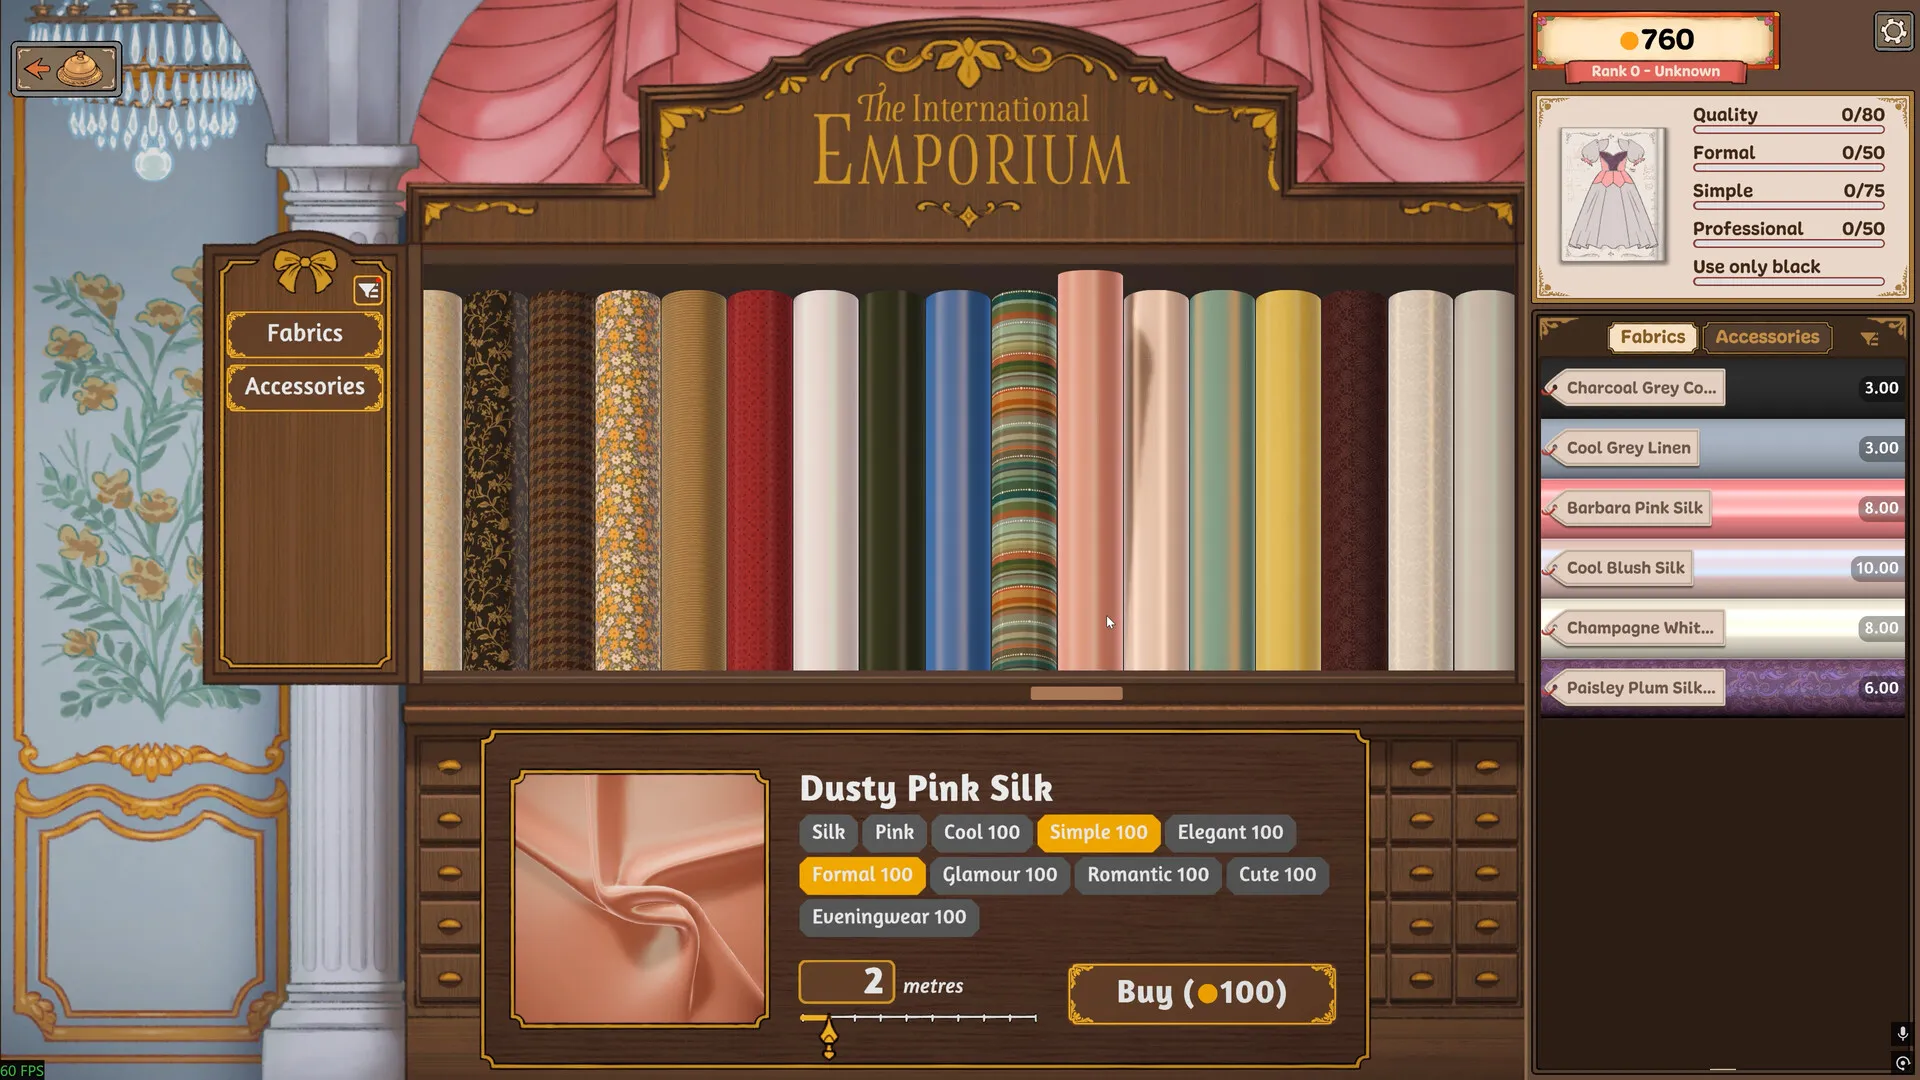
- Buy fabric by the metre. The fabric shop lists each fabric with its material, colour and tag scores, and a metre counter with a Buy price.
- Lay out and cut the pattern. Arrange the paper pieces on the fabric and cut around them. Each piece shows its grain quality as you place it. Whether you align a piece to the grain or cut it on the bias, the way you lay out and cut the fabric is what shows on the finished dress. Gradients, prints and which way a piece faces are on grain, gradients and prints.
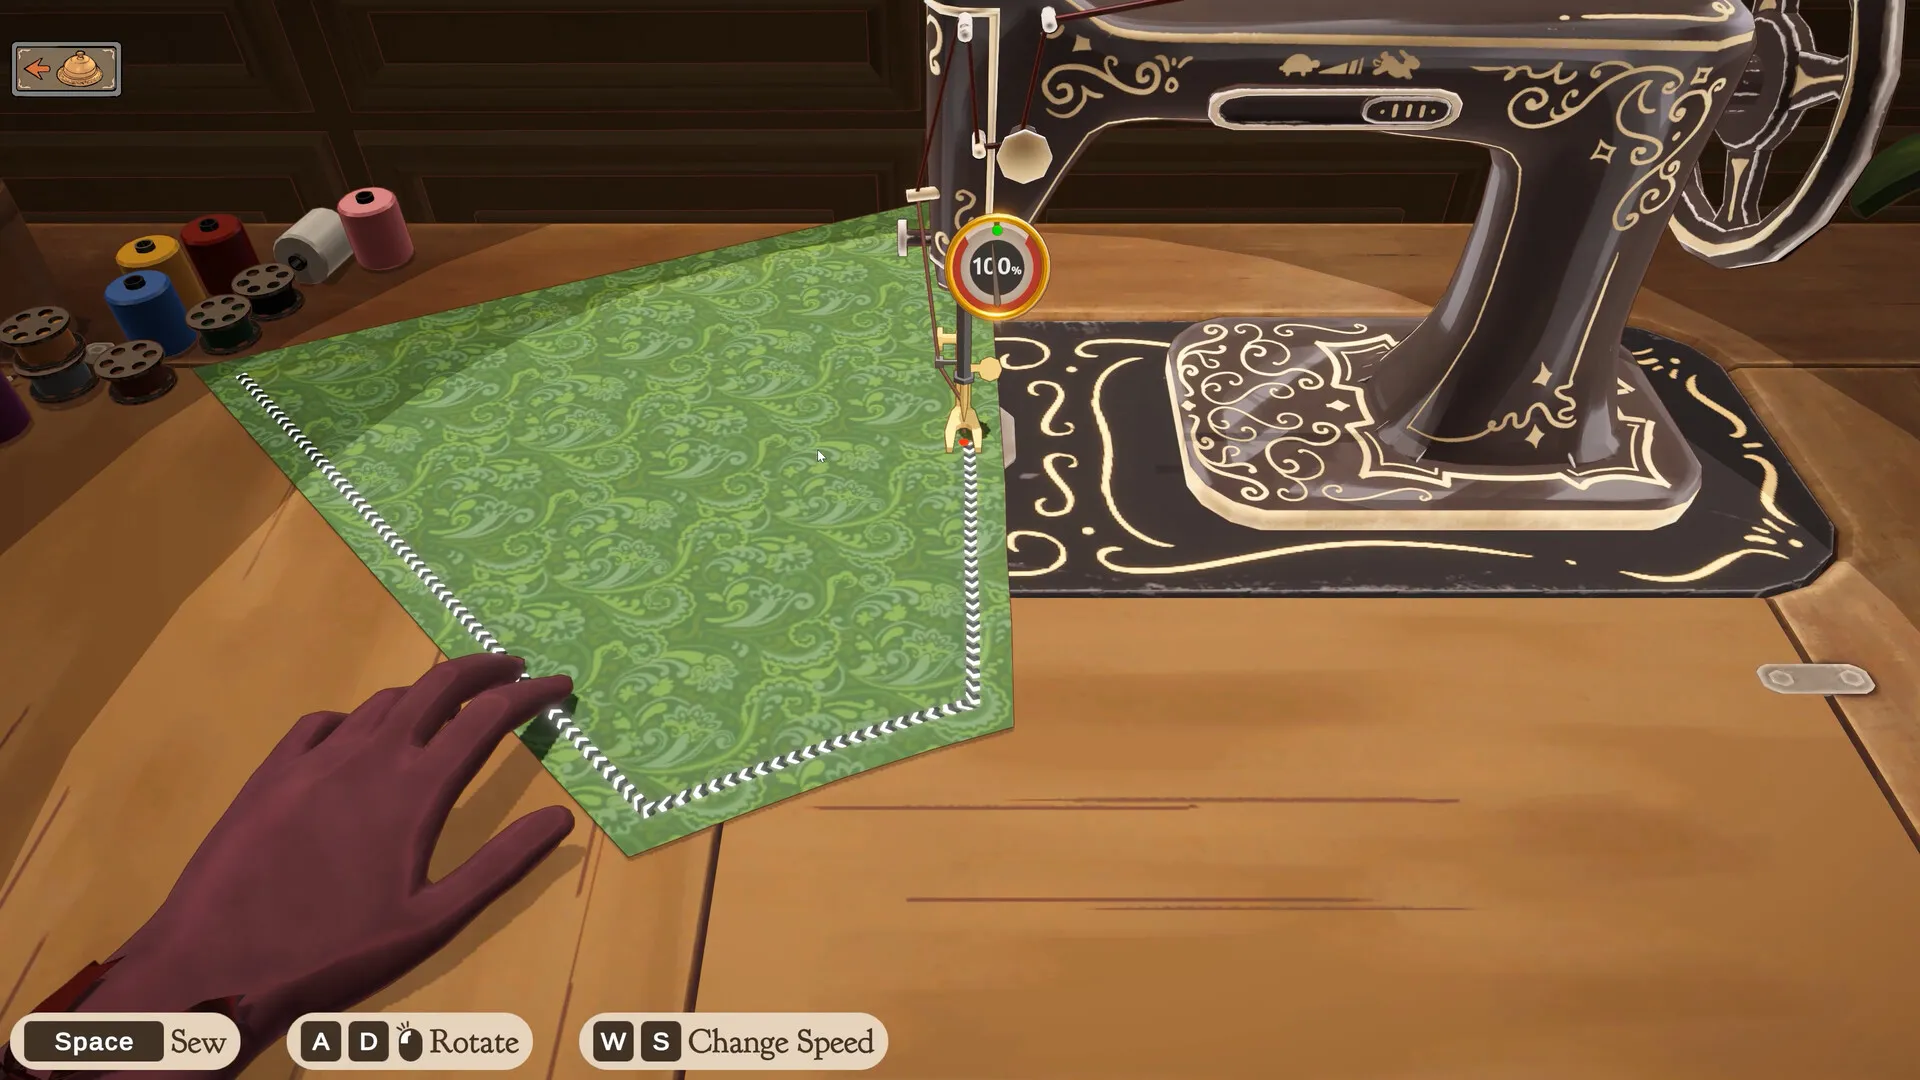
- Sew on the mannequin. Feed each piece through the sewing machine to stitch it together. The on-screen keys are Space to sew, A and D to rotate the fabric, and W and S to change speed. Staying on the guide line is the second half of your quality score: getting 100% quality.
Want a different thread colour? Click a coloured spool beside the machine; the illustrated controls show where to look.
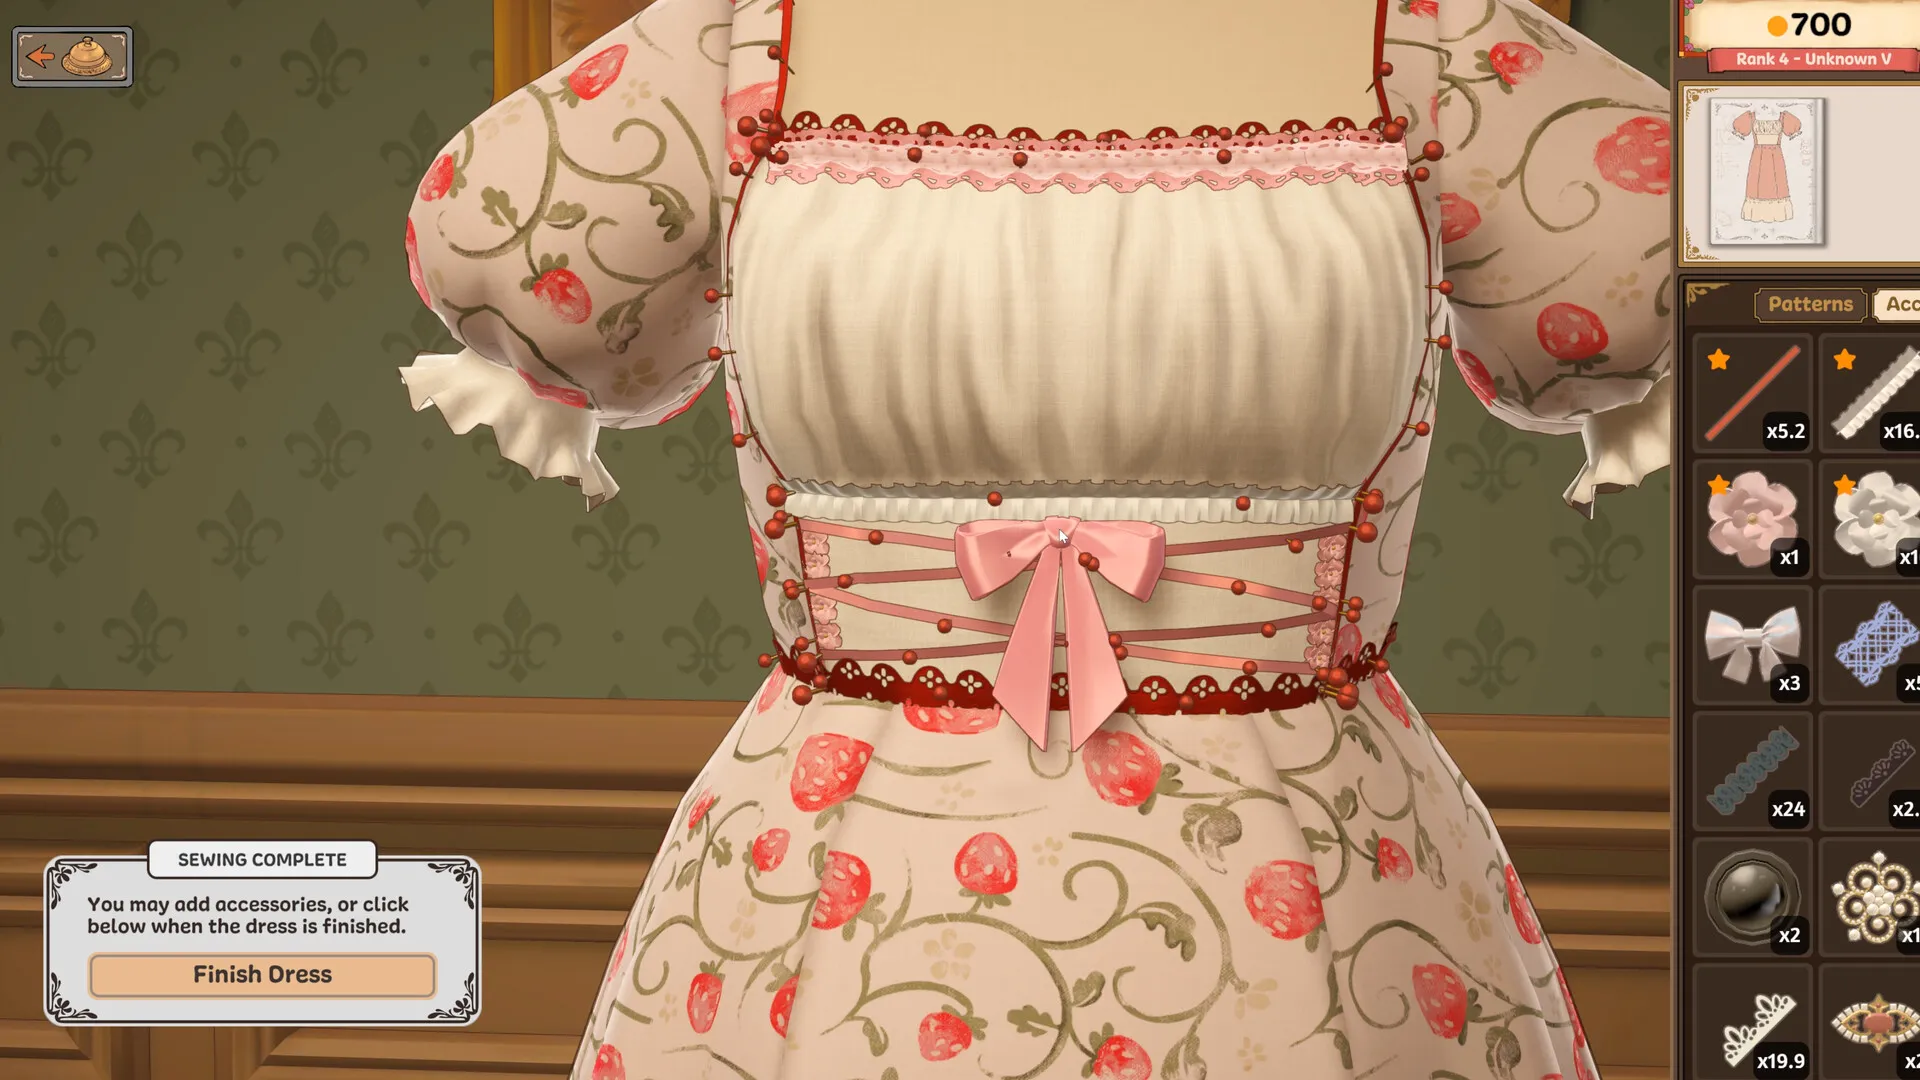
- Add accessories. When the last seam is done the game says sewing is complete and opens accessories: lace, trim, bows, buttons and the rest, placed by hand. See lace trim and accessories.
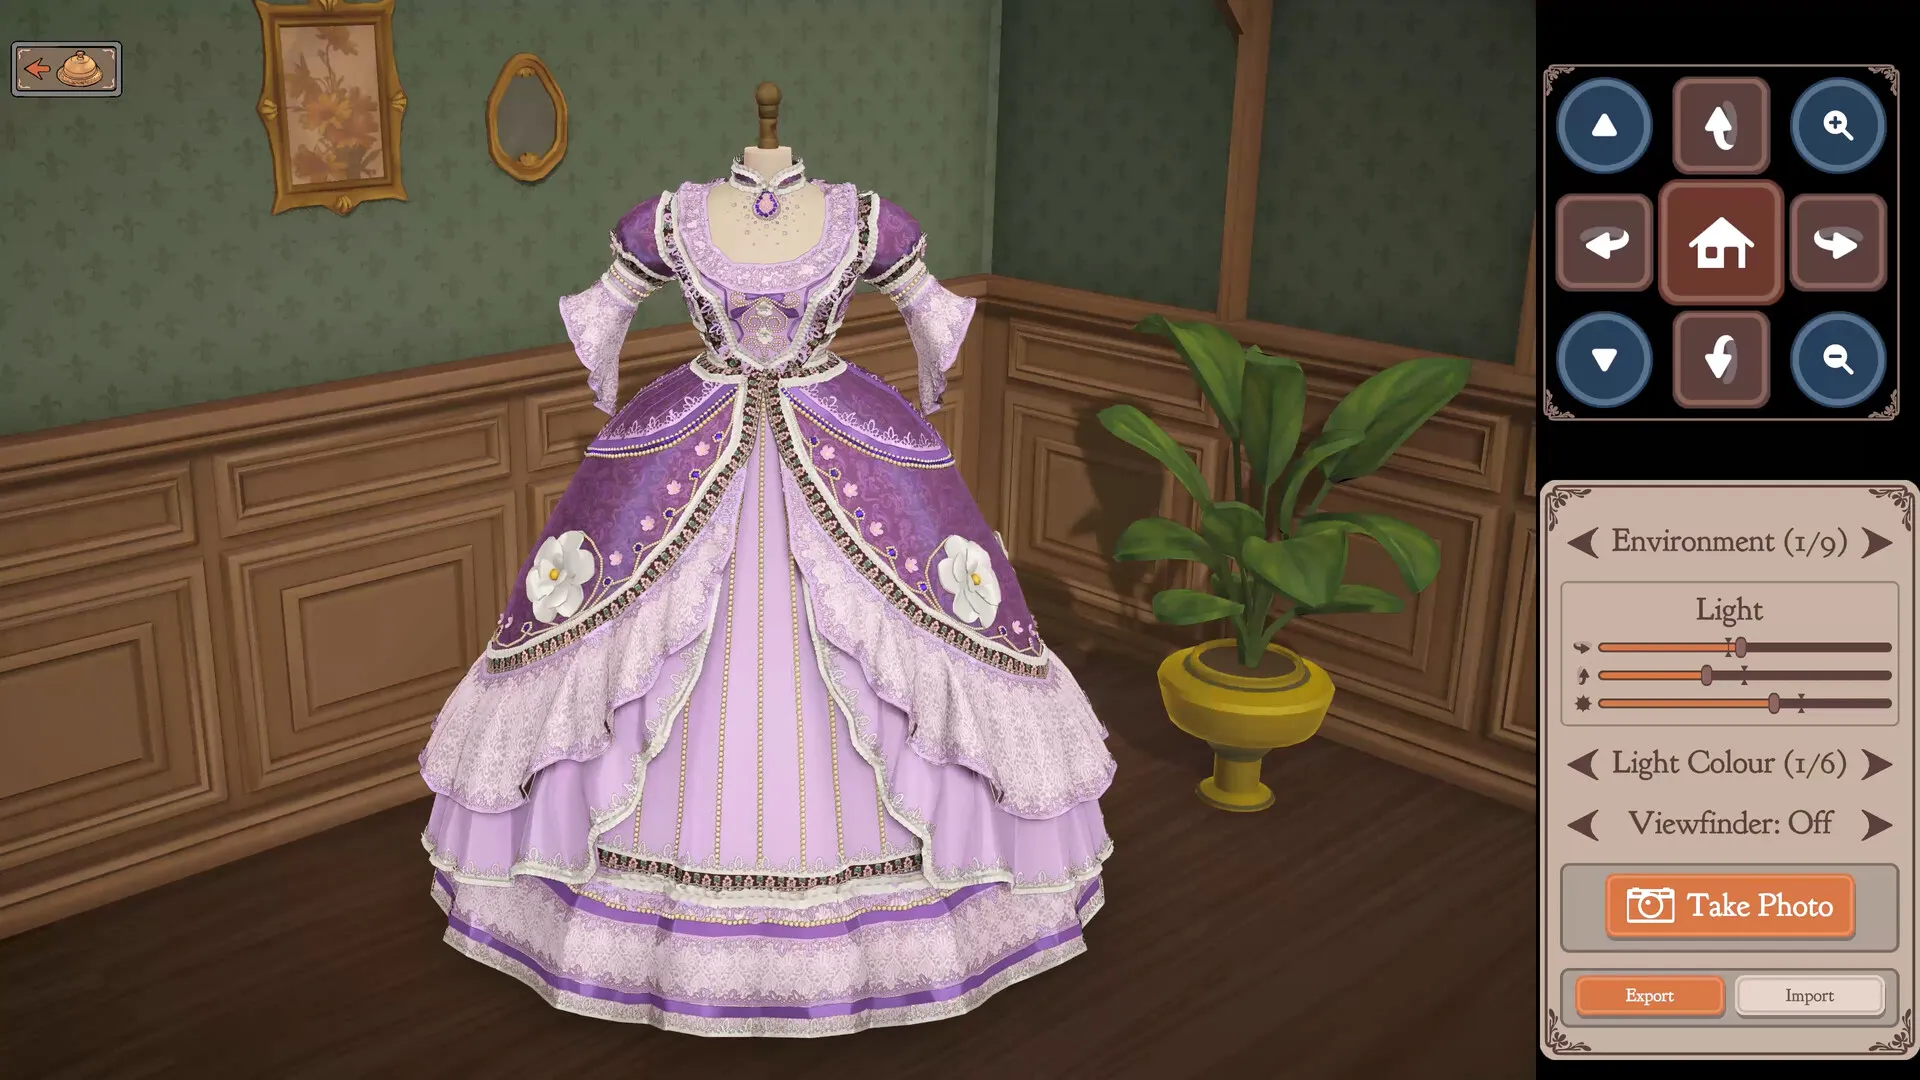
- Photograph and deliver. Photo mode takes the picture, then the dress can complete the commission, go back for more work, or be sold. Selling and gifting are on off the rack, selling and gifts.
Cannot discard leftover fabric after the update?
In Build 443, click Discard Fabric before using the scissors to discard cloth. A normal click with the scissors no longer starts that action. To collect cut panels, use the new Grab All button.
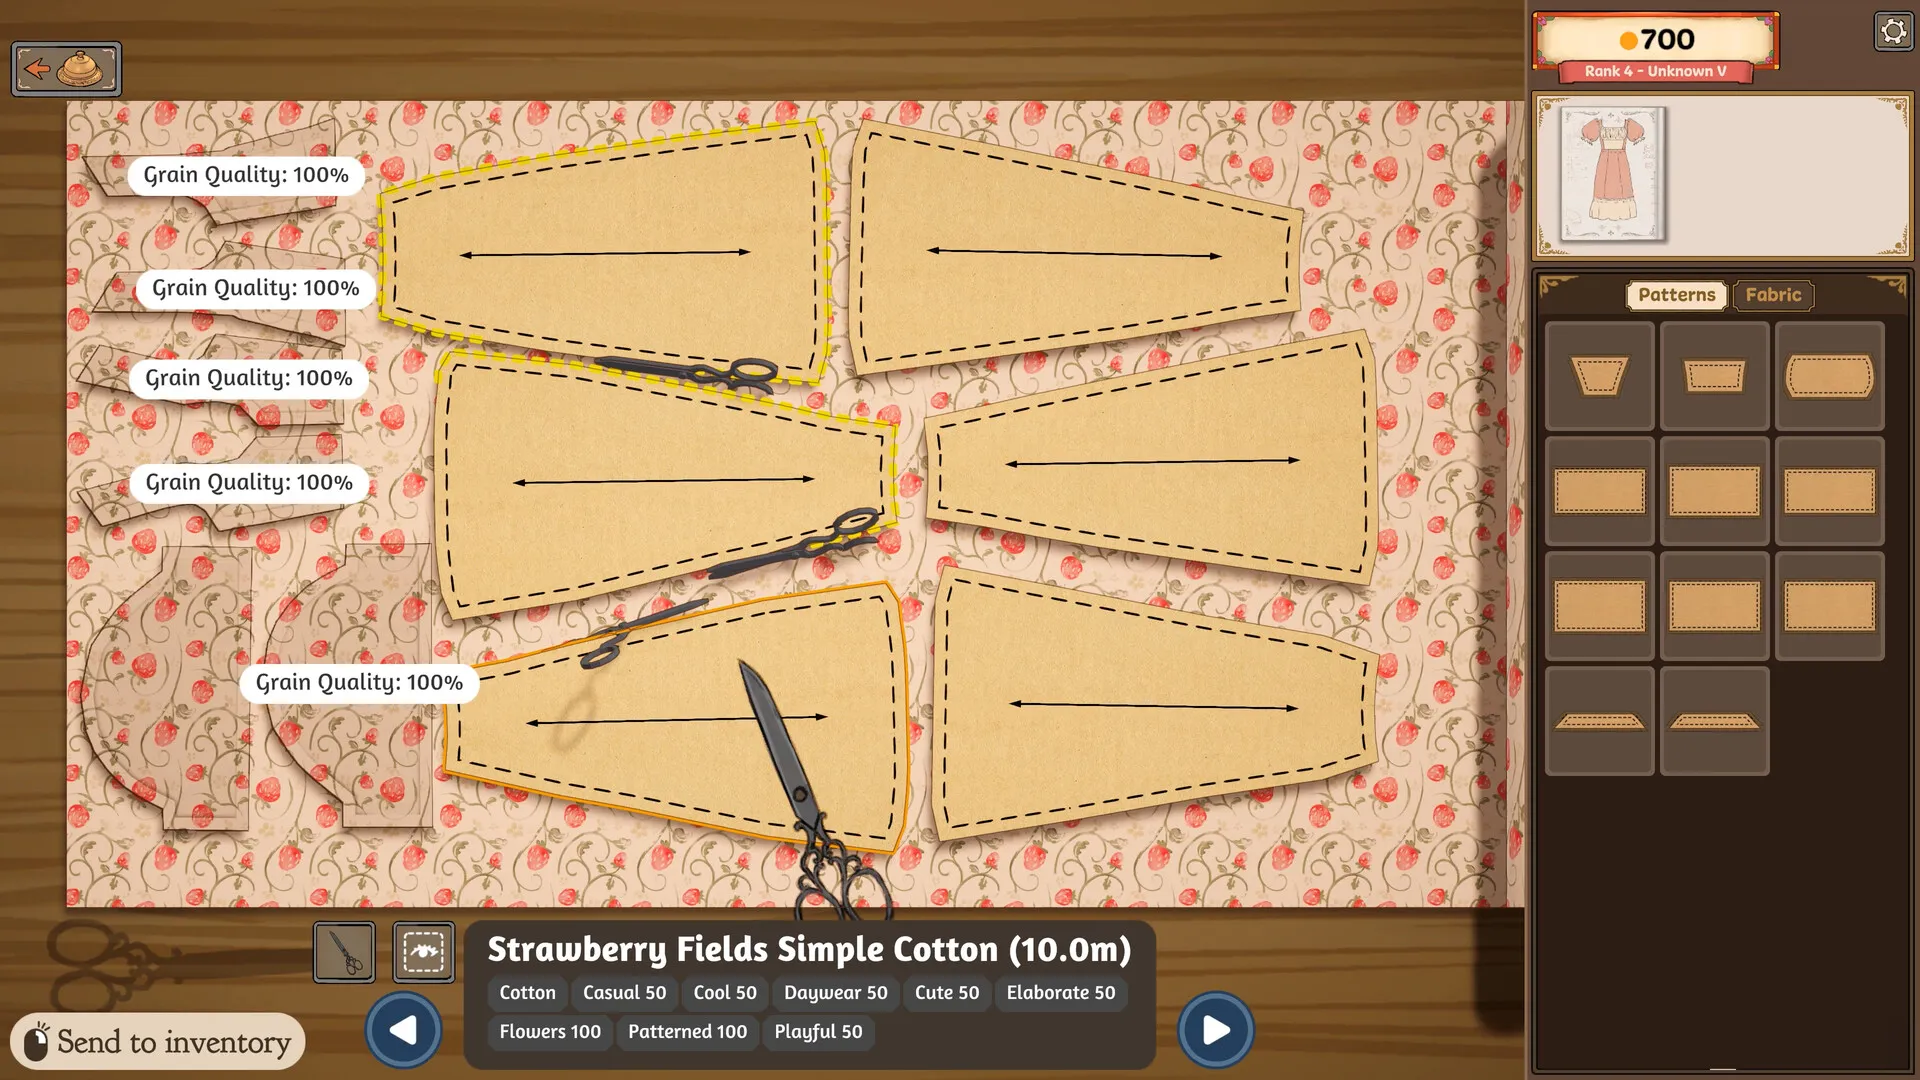
- Check that the panels you want are cut.
- Collect those pieces with Grab All.
- Choose Discard Fabric deliberately if you want to remove the remaining cloth.
The stations, on screen
What the game leaves out
It is built on real dressmaking but trims it down. There are no darts, ironing, plackets or draping, you never fold fabric, and gathers come ready-made. Nothing in it needs timed input.
Where to go next
- The camera will not zoom or the mannequin will not turn: controls.
- Stuck on a number: look the card up, then check the rule on style tags.
- Short on quality: grain and seams.
- Something broke: known bugs and fixes.
- The whole story in order: story events.
Learn how photo mode works before saving the picture or returning to the mannequin. Already handed the dress in? Reopen it from sketchbook history for a new photo.