
Dressmaker lace trim and accessories
Accessories go on after the last seam: lace, trim, bows, buttons, brooches, feathers and the rest, placed by hand on the mannequin. 22 commission cards ask for a specific kind, and lace trim is the one with a catch.
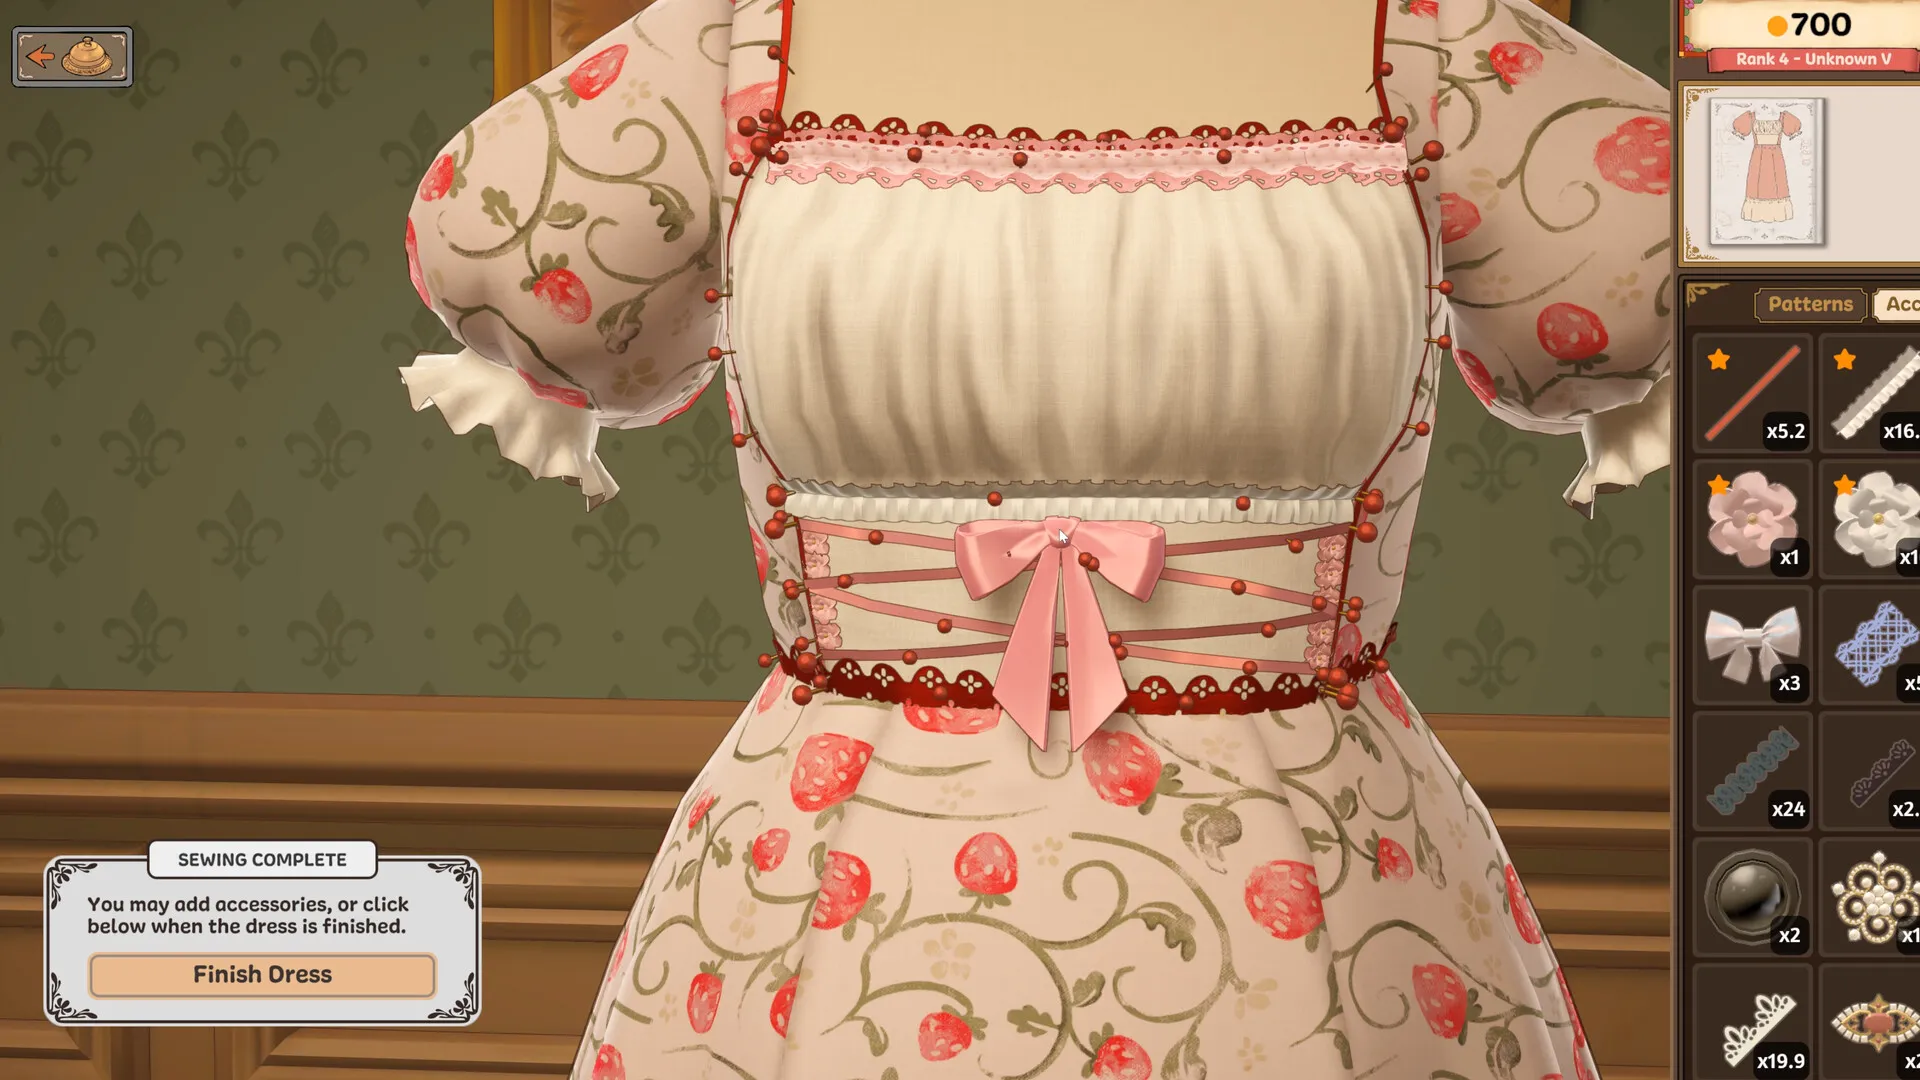
Build 443: fewer clicks and easier trim editing
Place and extend
Try Fast Trim Placement for fewer clicks. Drag to rotate the mannequin while placing trim. Click an end node to select a strand, then click it again to extend.
Adjust and repeat
The duplicate button starts another piece with the same height, size and tilt. It does not promise a mirrored copy of the full path. Trim height can now go below zero.
Selecting an accessory hides other items’ pins. The rotation gizmo has movement buttons for small adjustments; hold Ctrl to rotate in the accessory’s frame.
If old lace now clips or folds differently, recheck its height and tilt: the update changed trim placement and some default tilt offsets. Cuffs remain a work in progress, so this is not a guarantee that every clipping problem is fixed. Use the new zoom and pan controls.
How much lace trim is still missing?
Studious Motivation requires 100 cm of Lace Trim.
Enter the length counted on the card, not how much you bought.
Find accessories tagged Lace Trim · Length still not counting?
Lace and accessory quick answers
| What you need | Start here |
|---|---|
| Flowers or Elegant stops rising | More copies of the same accessory give diminishing returns. Before spending more, check the score ceiling and fabric repair options. |
| Where to buy lace trim | Open the accessory corner of the International Emporium and filter Type to Lace Trim. |
| Why 100cm stays at zero | Lace fabric does not count. Place Lace Trim accessories on the sewn dress; the card counts the length laid down. Check what counts. |
| Remove a strand | Click a pin, then the X in its panel. Delete removes the connected piece. Removal controls. |
| Resize it | Finish the strand first, then click a red pin to reopen its panel. Resizing and floating lace. |
| Flip which way it faces | Remove the strand and draw it in the opposite direction. See the direction diagram. |
Browse only Lace Trim in the accessory databaseCompare prices, unlock ranks and style tags before you buy.
Why are accessories huge in the sketchbook?
The sketchbook uses fixed-size accessory samples. You can move and rotate those samples, but they do not have the size controls used on the sewn dress. A large button on the paper does not set the size of the button you will place on the mannequin.
On the paper: plan the look
Drag an accessory sample to arrange it. Hover over it to reveal its rotation handle. Keep the sample as a reminder of the item you want; there is no sketch-sample shrink control.
Sketchbook controlsOn the sewn dress: set the size
Select the placed decoration and use its size controls. For lace or trim, finish the strand first, then select a red pin to reopen the editing panel.
Open the resize and removal instructions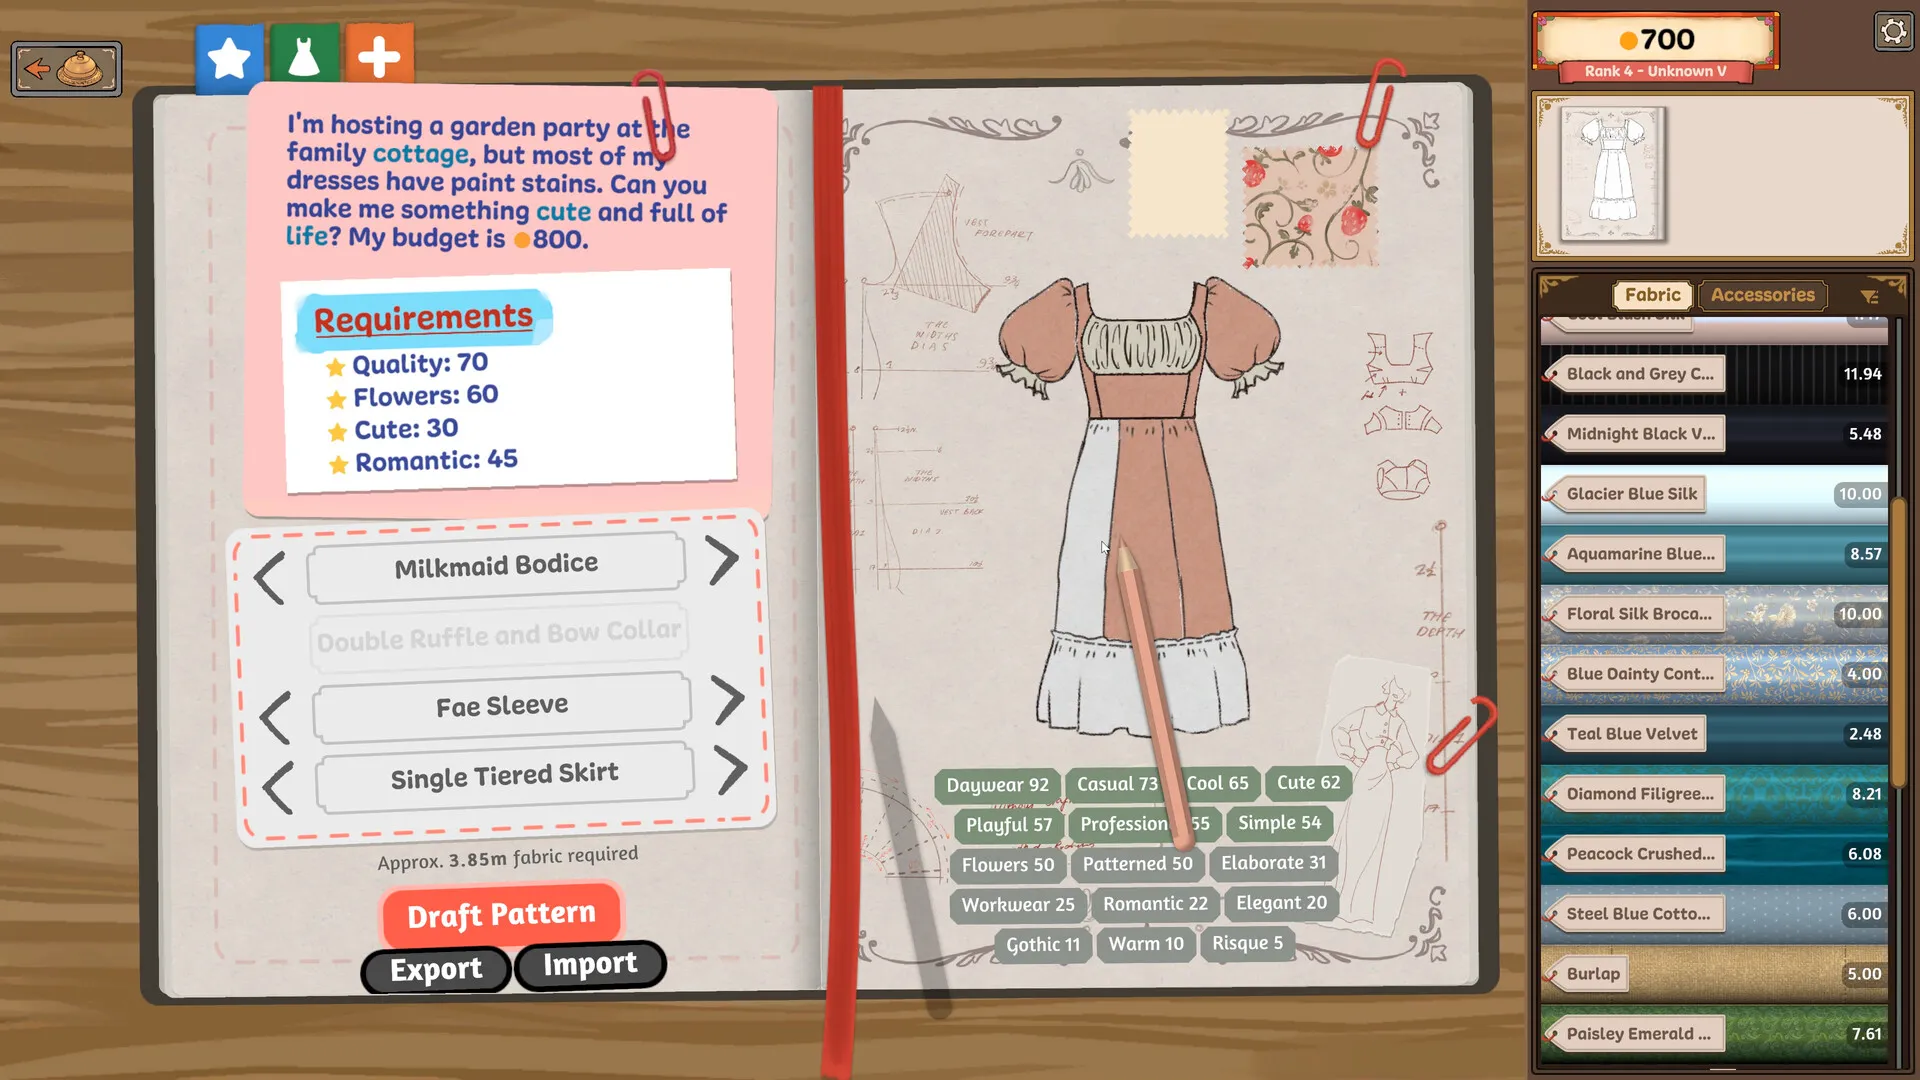
Looking for matching colours? Find accessories with green in the name, or browse gold names. Check each icon: a colour word does not describe every colour in a multicoloured decoration.
Lace trim that does not count
Alice’s Studious Motivation asks you to use 100cm of lace trim. Only accessories the game tags as lace trim count toward it. To check, filter the items for Lace trim: the ones that show up are the only ones that count. How the centimetres add up strand by strand is on Studious Motivation.
A patch fixed some lace trim items that were not tagged as lace trim, so a lace that did not count before may count now. The rest of that patch is on patch notes.
Placement keys
| On the placement bar | Label |
|---|---|
| Z | Zoom |
| Q E | Rotate |
| Place | Place the accessory |
| Finish Placement | End placing the current item |
| Shift | Place Multiple |
| Shift + click a placed item | Copy a regular accessory when another is in inventory; not a trim strand |
| Left Ctrl + R | Toggle the rotation gizmo for regular accessories |
These are the labels on the placement bar at the bottom of the screen; the mannequin and camera controls, which the game does not label, are on the controls page. For full X, Y and Z rotation on detailed decorations, turn on Accessory Rotation Gizmo in the settings. On a Steam Deck there is no controller support yet, so map a button to zoom (Z or middle click): see platforms and Steam Deck.
Select, rotate, then copy a decoration
- Select with a click and release. Click an unselected button, bow or brooch without dragging. Its editing panel appears. Dragging can pick it up instead.
- Rotate with the handles. Press Left Ctrl + R to show the rotation gizmo, then use its handles. Press the shortcut again to hide them. This applies to regular accessories; lace and piping use strand pins.
- Hold Shift and click to copy. Keep another of that accessory in your inventory first. The copy keeps its size, rotation relative to the fabric surface and distance above that surface. Place it where you want the repeat. This does not duplicate a whole trim strand.
- Keep the original in place. Use the panel or rotation handles after selecting it. Clicking the selected accessory again picks it up; dragging it moves it too. Before a Shift-click, check that a spare remains in inventory.
For repeated eyes or buttons, size and rotate the first piece before copying it. Turn the mannequin to check how each copy sits on the curve of the fabric. For an outline drawn in piping, start with the one-metre flower exercise instead.
To inspect a finished detail without grabbing an accessory, switch to the pin-free Patterns view, then return to Accessories to edit.
If a small decoration is hard to select, zoom with Ctrl + mousewheel before editing. Holding the input is different from tapping it.
A feather, bow or applique sticks out of the dress
For a single placed accessory, click and release to select it, then hover the panel buttons until you find Reset position. This clears its added rotation and lift relative to the fabric surface. It keeps the size and the spot where you placed it; it does not send the decoration back to its first location.
- Reset before trying more rotations. Reset position gives you a surface-facing starting point. A decoration can still project outward because of its shape.
- Turn it a little, then check from the side. Use Rotate up/down or the rotation gizmo. Raise and Lower change the distance from the fabric; resizing changes its size.
- Copy after the first one sits correctly. Hold Shift and click the placed item when another is in stock. If it sits differently on the next curve, adjust that copy separately.
A drawn strand of lace, strawberries, tassels or piping has different controls: its panel uses tilt, height and width, without the regular item’s Reset position or Duplicate. Redraw a strand that faces the wrong way; compare the two editing panels.
Removing, resizing and floating lace
| To | Do this |
|---|---|
| Remove a whole trim strand | Click the strand or a pin to select it, then click Remove item (the X) in its panel. Right-clicking an end pin removes that pin, not the whole strand; a middle pin does not come off that way. |
| Remove a single bow, feather or button | Right-click the placed item to return it to inventory. This is separate from deleting a trim pin. |
| Resize a trim | Finish the trim first, then click one of its red pins to open the same panel. |
| Stop lace floating off the dress | Raise the trim until it starts to flatten, then tilt it up or down until it lies against the fabric. |
| Mirror one side onto the other | The game has no mirror or symmetry tool, so place each side by hand. The unofficial ModLoader adds symmetry: see mods. |
| Copy a length of lace | Use the Build 443 duplicate button to start another trim piece with the same height, size and tilt. Draw its new path; the button is not a confirmed full-path or symmetry copy. |
Strawberries pointing up? Redraw the line in reverse
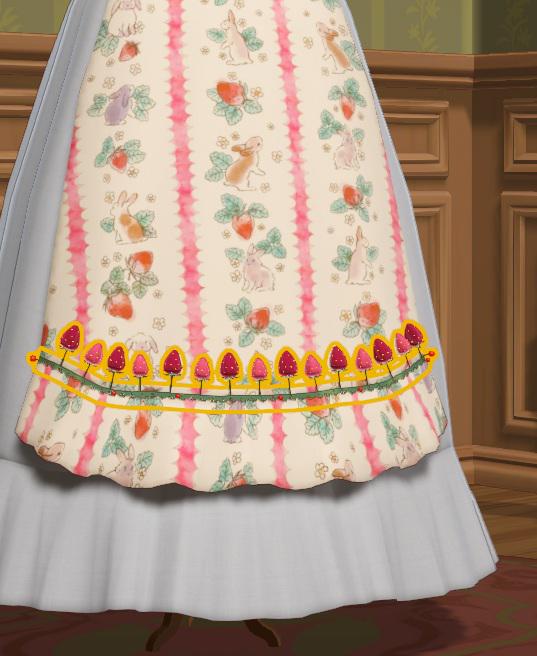
If Tilt does not give you the direction you want, select the strand, remove it with the panel’s X, and draw the same edge starting from the opposite end. The drawing direction also changes which way decorative trim faces.
This is a strand operation. Use Reset position for a single placed feather or applique, and find trim by type before buying a replacement. Reversing the line changes its orientation, not its accessory type.
Flip lace by drawing the other way
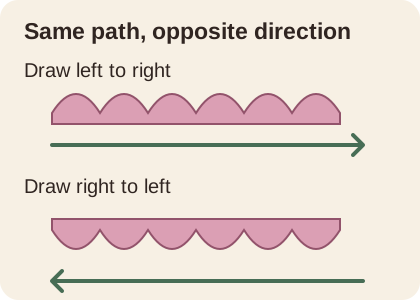
Lace faces the way you drag it. Drawing left to right instead of right to left reverses it; if it already faces the wrong way, remove the strand and draw it again in the other direction. The rest of the mannequin controls are on the controls page.
Tassels and bells hanging upside down
Hanging trims follow the drawing direction as lace does. If tassels or bells point up, remove the trim and draw it again the other way. Or draw it first as a short line slanting downward, then move the pins until the line is straight.
Checking the look while you trim
In Build 443, selecting an accessory hides every other item’s pins. You can also disable the red outline. Drag to rotate the mannequin while placing trim; right-drag pans and Ctrl + mousewheel zooms.
For a preview without active edits, switch the side panel to Patterns, then return to Accessories to carry on. Outline versus pins and animation · Camera controls.
Cards that ask for an accessory
- Biographer's Interview for Edith: Brooch: at least 1
- Studious Motivation for Alice: Use 100cm of Lace Trim
- Pigeon Adoption for Dorothy: Jewel: at least 1, Brooch: at least 1
- Phoenix Costume for Edith: Feather 4
- Selafie's Wish for Selafie: Bow 3
- Crowning Glory for Adora: Use 10cm of Trim, Use 10cm of Lace Trim
- Exotic Moth for Vivian: Tassel 5
- A-maze-ingly Lost for Fiona: Bell 3
- Floral Romance for Prudence: Flower 3
- Good Aunt for Prudence: Bow 5
- Precious Pigeon for Dorothy: Tassel 5
- Beloved Ox for Fiona: Bow 2
- Parental Guidance for Alice: Jewel: at least 10
- Gala Supporter for Dorothy: Use 20cm of Trim
- Another Encore for Edith: Jewel: at least 5
- Cat Amongst Pigeons for Edith: Feather: at least 5
- World Stage for Edith: Feather: at least 10, Jewel: at least 5
- Opera Night for Fiona: Bow: at least 5, Use 10cm of Lace Trim
- Maid of Honour for Priya: Bow: at least 3
- Painted Dream for Prudence: Flower: at least 5
- Dark Emissary for Vivian: Use 10cm of Trim, Jewel: at least 3
- Midnight Warrior for Vivian: Jewel: at least 10
The two accessory achievements
Trim and Proper needs more than 50m of trim on a single dress, and Harder than it Seams needs more than 300 accessories on one dress. Both are about volume, which is where Place Multiple helps. Their share of players is on all 32 achievements, and whether one dress can earn both, with the costs, is on 300 accessories, 50m of trim, 5,000 gold.
Make painting and character dresses with trim, appliques and a planned colour palette.
Search the accessory database for the tag score and cost of each accessory.